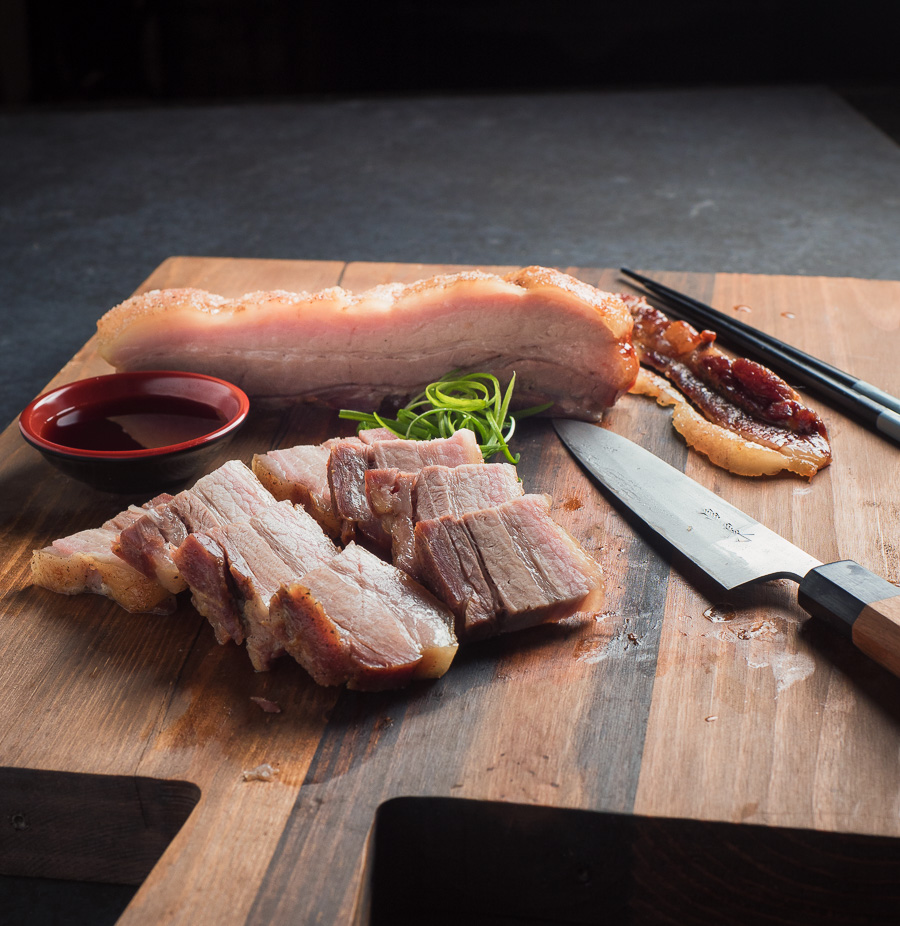
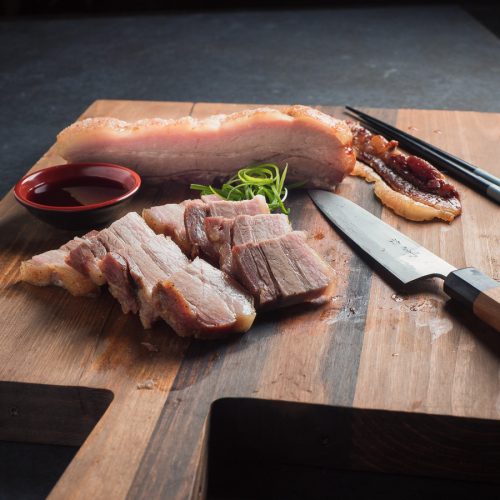
Momofuku pork belly is so good a restaurant empire was built on it. Melting tender and deeply flavoured. And this is how they do it. For real. I asked. At the restaurant.
I’ve seen a bunch of Momofuku pork belly recipes on the net. I’ve looked at the book. And I’m telling you it’s all wrong. All the recipes are the same. Cure it up to 24 hours. Blast it at 450 for an hour.
Drop the temperature to 250F and then cook it to 165F. That’s a recipe for tasty but tough pork belly. Chewy. Not the Momofuku pork belly magic. No way. Not close.
My lesson on Momofuku pork belly – in the kitchen at Momofuku
Don’t write me off here. I was at Momofuku. I asked the waiter how they make the pork belly.
It went like this…
“How do they cook the pork belly?”
“They cure it and roast it.”
“What temperature?”
“I’ll be right back.”
Different guy shows up at the table.
“They cook it at 290F.”
“Thanks. For how long?
“Please come with me sir”
No secrets anymore
Off I went to the kitchen. That’s how I got my lesson. I spoke to the chef. Not David Chang though. That would have blown my mind. But still, good enough.
This is the lesson I got for the Momofuku pork belly. Just as I was told. And I believe it because it’s just how I remember the pork belly.
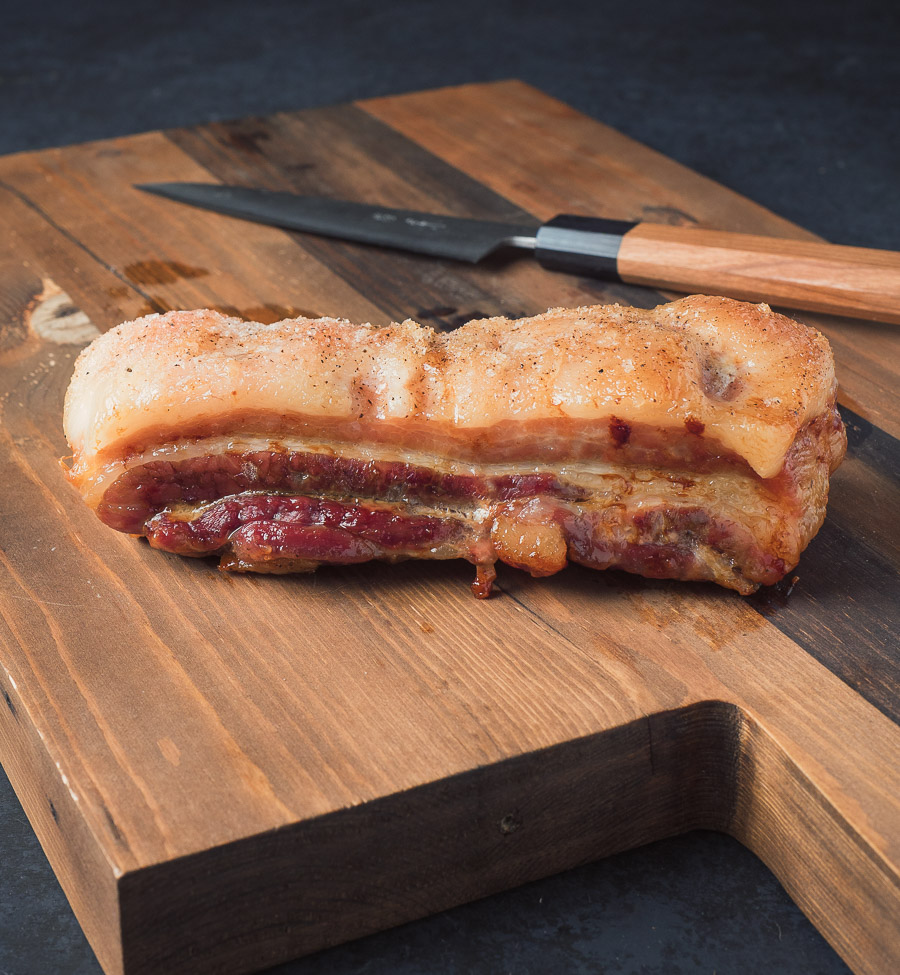
The cure, I was told, is half salt, half sugar and a bit of pepper. I don’t like things too sweet so here I cut the sugar in half. That’s the only variation I made. I’ve tried it both ways. Both crazy good. I just like it better with less sugar.
Skin the pork belly. 12 hour cure. Bake at 290F to an internal temperature of 190F. Rest. Done. That’s all there is to it.
Next time you want the Momofuku pork belly experience, make this. Make pork buns. Put it in your ramen. Or in the best ever pork belly sandwich. Slice it up and serve it with ponzu dipping sauce.
Or just stuff your face when it comes out of the oven. It’s all good. Really, really good.
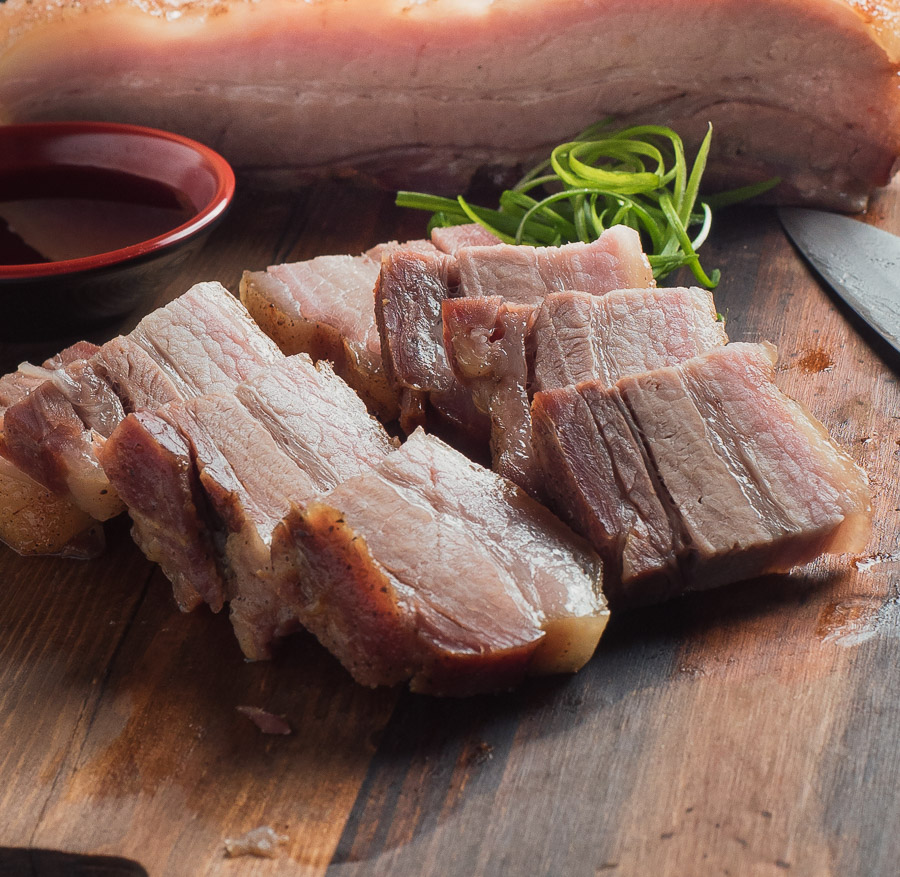
momofuku pork belly
Ingredients
- 3 lbs meaty pork belly
The cure
- 1/4 cup kosher salt - specifically diamond crystal brand.
- 2 tbsp white sugar
- 1 tsp black pepper
Instructions
- Combine the sugar, salt and black pepper and mix well. You will likely have too much so don't feel like you have to use all of it. You want to coat liberally. Not pack it in the cure mix. Don't use table salt. Diamond crystal kosher salt. If you want to try it with table salt please roll way back on the amount of salt you use. It's tested with diamond crystal. It works with diamond crystal.
- Remove the skin from the pork belly. You can get your butcher to do this for you. If you want to do it yourself it's not that hard if you have a good knife. Run the blade along the skin, pulling the flap of skin up as you go along. If you screw up don't worry. Just try again. It's not like it has to be perfect. It's a pork belly...
- Pull out a cookie sheet. Put the pork on the cookie sheet and coat the pork belly liberally with the sugar, salt and black pepper mixture.
- Refrigerate the pork belly, uncovered for 12 hours. Try not to go less than 10 hours. Don't go much over 14. A long cure is not what you are looking for here.
- Pre-heat your oven to 290F.
- Remove the pork from the fridge, brush any remaining cure from the surface (or give it a quick rinse) and place it in a baking pan large enough to hold it comfortably. If you don't have one, use your cookie sheet. Cover with foil and place in the oven.
- Cook to an internal temperature of 190F. I can't tell you how long this will take because I don't know how thick your pork belly is. Maybe 4 hours. But start checking after two hours. This is like BBQ. It's done when it's done.
- Remove the pork from the oven and let rest 10-15 minutes. Slice and serve.
- To re-heat, steam slices if you want it meltingly tender. Pan-fry slices if you want a bit of crust. All good...

