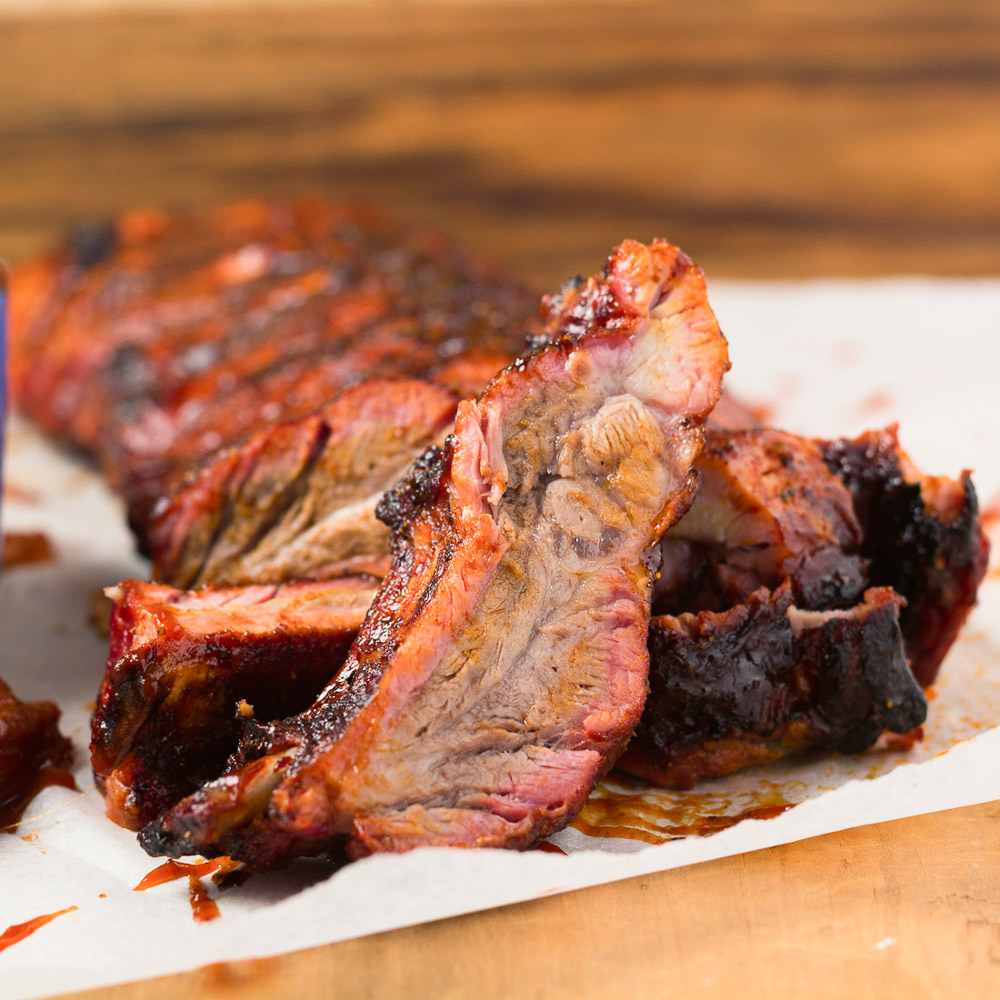
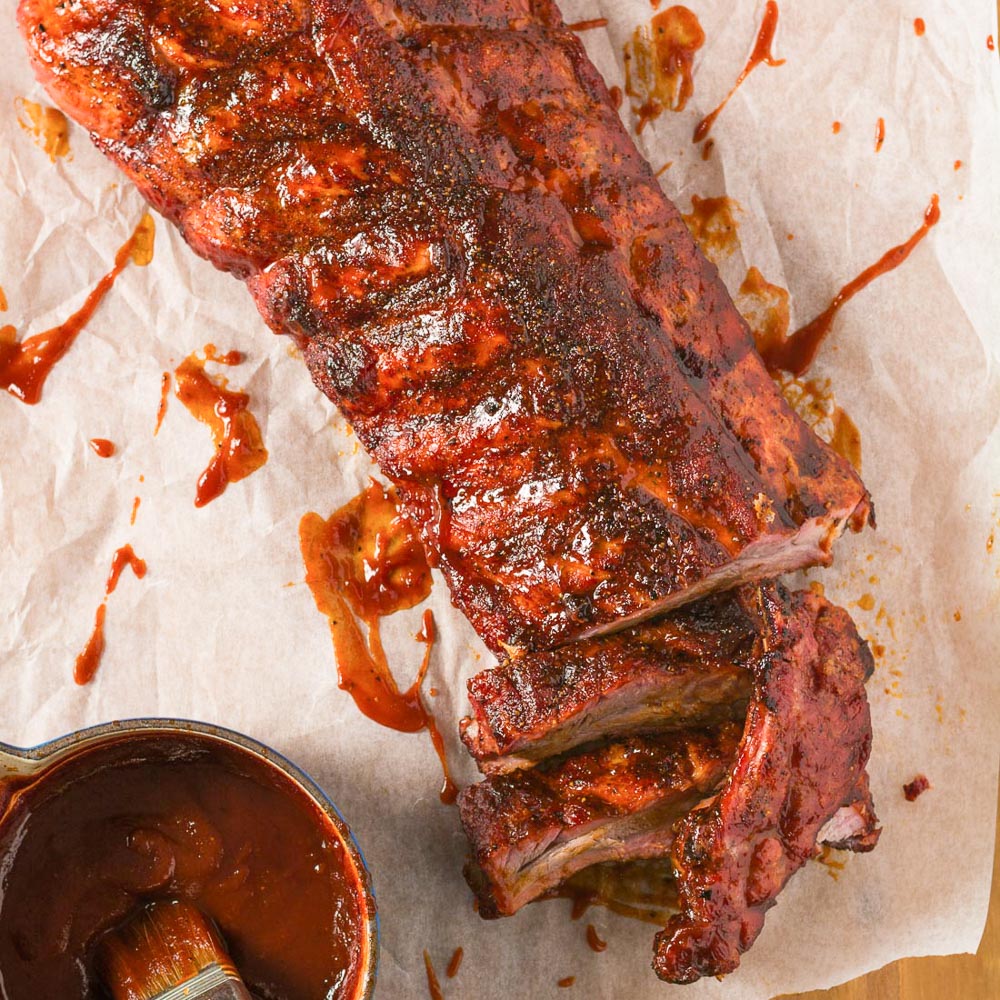
There’s a secret to perfect BBQ back ribs. One that will get you awesome ribs every time. Every time. It’s not hard. Internal temperature. That’s it.
Cook your ribs until an instant read thermometer inserted between the ribs (never touching the bon though) reads 195F.
Perfect internal temperature for perfect ribs – every time
A good dry rub and a BBQ made from scratch help too, of course. Every little bit helps. But internal temperature is the big one.
Miss that and no sauce will save your ribs. Not even the bourbon BBQ sauce below. It’s good. But nothing is that good…
A smoker makes this pretty easy but it takes forever. Somewhere around 5 hours for baby back pork ribs. This recipe gives you perfect BBQ back ribs in about 2 hours. Still slow but not crazy slow.
Anywhere between 190F and 200F is in the zone but 195F is the magic number. Below 190F and they will be tough and chewy.
Much above 200F and they will start to dry out. 195F gets you perfect BBQ back ribs. Tender but firm with that little bit of pull when they come off the bone. Championship ribs.
There’s art to BBQ. But there’s science too. Tending your fire. Timing. Just the right amount of smoke. That’s art.
Cooking to a specific internal temperature. That’s science. BBQ takes meat way past the normally recommended internal temps and yet it can be moist and tender. That’s magic.

Why it works
Pork guidelines are around 140F these days. Take it up to 175F and your pork turns to dust. Take it up to 195F though, and something wonderful happens.
The tough connective tissue and collagen melts and suddenly the meat turns moist and tender. Works with most tough cuts.
This is how all low and slow BBQ works. Why a brisket cooked past shoe leather temperatures is moist and delicious. And why your ribs are perfect sometimes and not so good other times.
It’s the same phenomenon you see when you make stew. Melting that stuff is what makes perfect BBQ back ribs work.
Grilling tips for perfect BBQ back ribs
These ribs are done on the classic Weber kettle at around 325F. You need to use lump charcoal or pure charcoal briquettes.
Regular briquettes won’t work here. You will be lighting some briquettes about half way through the cooking process. Fast start briquettes are treated with chemicals that you have to burn off before you use them.
A gas grill could work here as well. You will need to burn wood chips though, or you might as well use the oven. Real BBQ is all about the smoke. Not too much smoke mind you. That part is still art.
The concept is simple. Mound your charcoal on both sides (I have the Weber charcoal baskets – they work well). Put a tinfoil drip pan down the middle.
Light one side adjust your airflow so your grill comes up to 325F. Put them above the drip pan, rib side down. Cook your ribs, turning them 180 degrees every 15 to 20 minutes.
When your fire starts to get low, light the other side. Keep cooking, turning every 15 to 20 minutes. Start checking internal temp after about an hour.
Big meaty back ribs will take about 2 hours. Leaner ribs could be done in as little as an hour – you should start checking internal temp after about 40 minutes.
When they hit about 190F you can sauce them. Or you can serve them dry – try that some time. It’s delicious.
Either way, perfect BBQ back ribs are better than most any restaurant is serving. Outside the US BBQ belt anyway. Once you get this down your friends with crown you the BBQ champion.
perfect bbq back ribs
Ingredients
- 1-3 racks meaty back ribs around 3 lbs each
Rib Rub
- 1 Tbsp brown sugar
- 1 Tbsp chili powder - pure. Like New Mexican or ancho
- 1 tsp kosher salt
- 1 tsp coarse black pepper - butcher's grind is perfect
- 1/2 tsp granulated garlic
- 1/2 tsp mustard powder
Simple Bourbon BBQ Sauce
- 1 cup ketchup
- 1/4 cup cider vinegar
- 1/4 cup chicken stock or water
- 2 Tbsp brown sugar
- 1 Tbsp pure chili powder
- 2 tsp bourbon
- 1 tsp Worcestershire sauce
- 1 tsp Franks red hot sauce (optional)
- 1/4 tsp salt
- 1/4 tsp granulated onion or onion powder
- 2 dashes liquid smoke (optional)
Instructions
Prepare your grill
- Bank lump charcoal or pure charcoal briquettes along opposing sides of a Weber kettle. Place a drip pan between the banks of charcoal. Light one bank of coals. Control your airflow so the kettle settles at around 325F.
- If you are using a gas grill light one burner and prepare your wood chips. Place your drip pan along side the lit burner.
Prep the ribs
- Remove the skin from the rib side of the rack. Use a paring knife to separate a bit of the skin from a bone, then slide a finger between the rib and the skin and start to pull up. Get a grip on the skin and pull carefully from the rack. This can be easy or a real hassle - just seems to vary rack to rack. I have no clue why...
- Rub the ribs all over with the dry rub.
Cook the ribs
- Place the ribs on the preheated grill above the drip pan. Keep the ribs away from direct heat. Cook, rib side down. Rotate the ribs 180 degrees end-to-end every 15 to 20 minutes. When the fire starts to burn out, light the lump charcoal on the opposite side. Continue to cook, turning the ribs every 15 to 20 minutes.
- After about 1 hour start checking internal temperature using an instant read thermometer. Measure in a few places between the ribs. Make sure the probe doesn't touch the bone. If it does, it will read wrong.
- Cooking time can be as little as one hour if it's a lean rack. A meaty rack can take up to 2 hours.
- When the ribs reach an internal temperature of 190-195F sauce and cook another few minutes.
Notes
Nutrition


